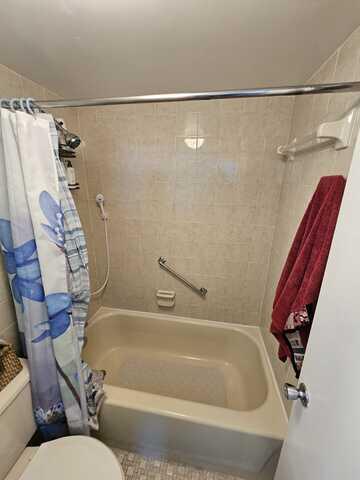
This is the Before shot
This is the bathroom before remodeling it .
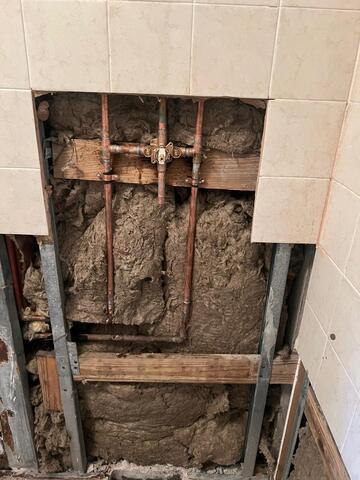
Insulation and Valve Installation
This features how we raised the valve from tub level to shower height and installed a new Posi-Temp Valve. Not to forget adding insulation where there wasn't any.
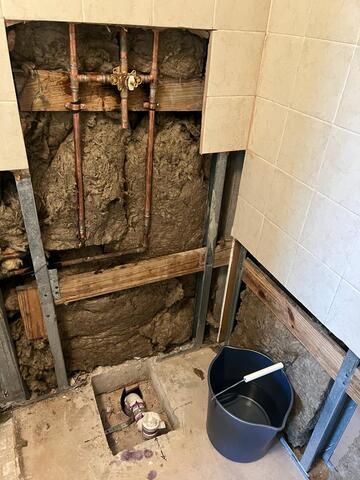
Relocating Valve and reposition Drain
This shows how we relocated the valve from the tub level to the shower level, positioned the drain and secured it. before installing the Fire resistant Mortar
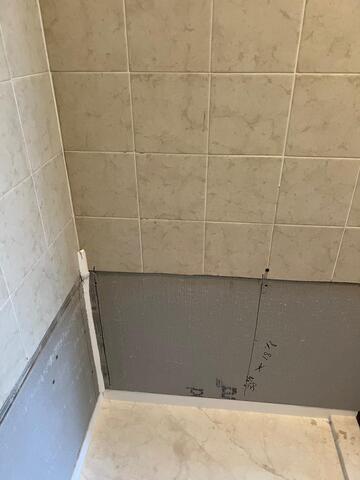
Part of the Process
This shows how we make sure ever angle is aligned to get a perfect fit.
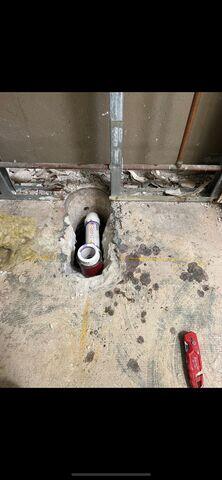
Installation of Fire Collar
We installed a fire collar around the drain. Before adding insulation and a shower base
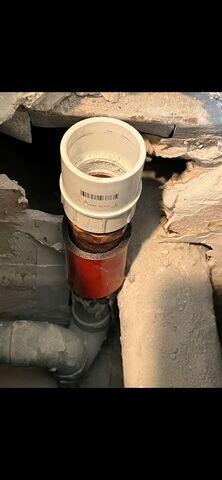
Addition of Fire Collar
this is a closer look at how we installed new fire collar and PVC pipe to the drain
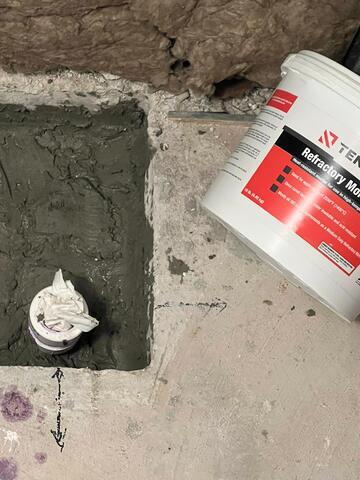
installation of new Drain
This shows how we positioned the new drain added a new fitting and used fire-resistant mortar to make sure everything complied with the building and Florida Code.
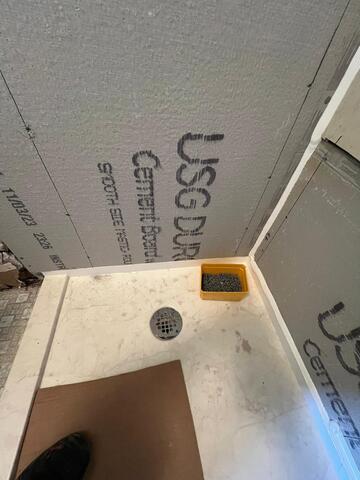
We Make sure to secure everything
This shows how our installer installs a screw to make sure the cement board is secured.
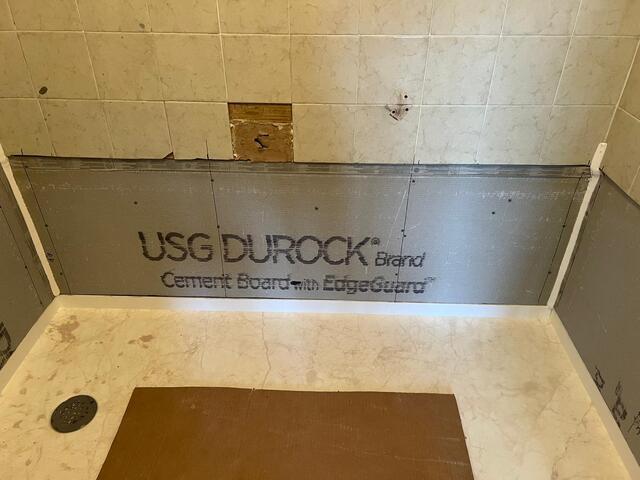
Materials and shower Base
This shows that we used Durock cement boards to ensure that the shower base fits perfectly and seals nicely.
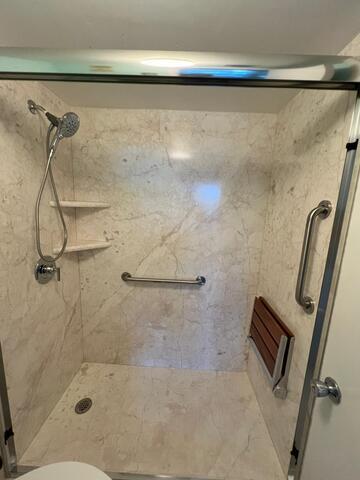
Finshed outcome before installing doors
Show you the finished outcome of how beautiful and elegant it came together before installing the doors
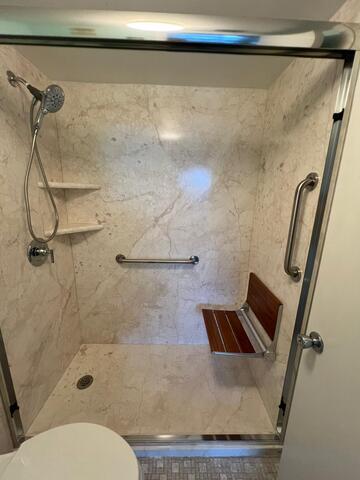
The foldable seat
The addition of the foldable seat gave the client peace of mind and made her feel safe
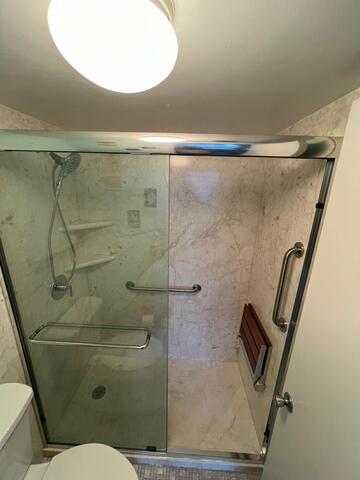
The Outcome
this is the Finished Product brand new walk-in shower with two corner shelves and two safety bars, the foldable chair with the addition of the Moen Magnetix Handheld shower head made it so convenient for the client